
Why try home coffee roasting
Home coffee roasting gives you control over freshness, flavor, and roast level. Many hobbyists and small sellers prefer roasting at home to highlight bean origin and create unique profiles.
This guide focuses on practical steps to begin home coffee roasting safely and consistently. Follow the checklist, choose the right gear, and practice small batches.
Essential equipment for home coffee roasting

Start with basic tools and upgrade as you learn. You don’t need a commercial roaster to achieve good results at home.
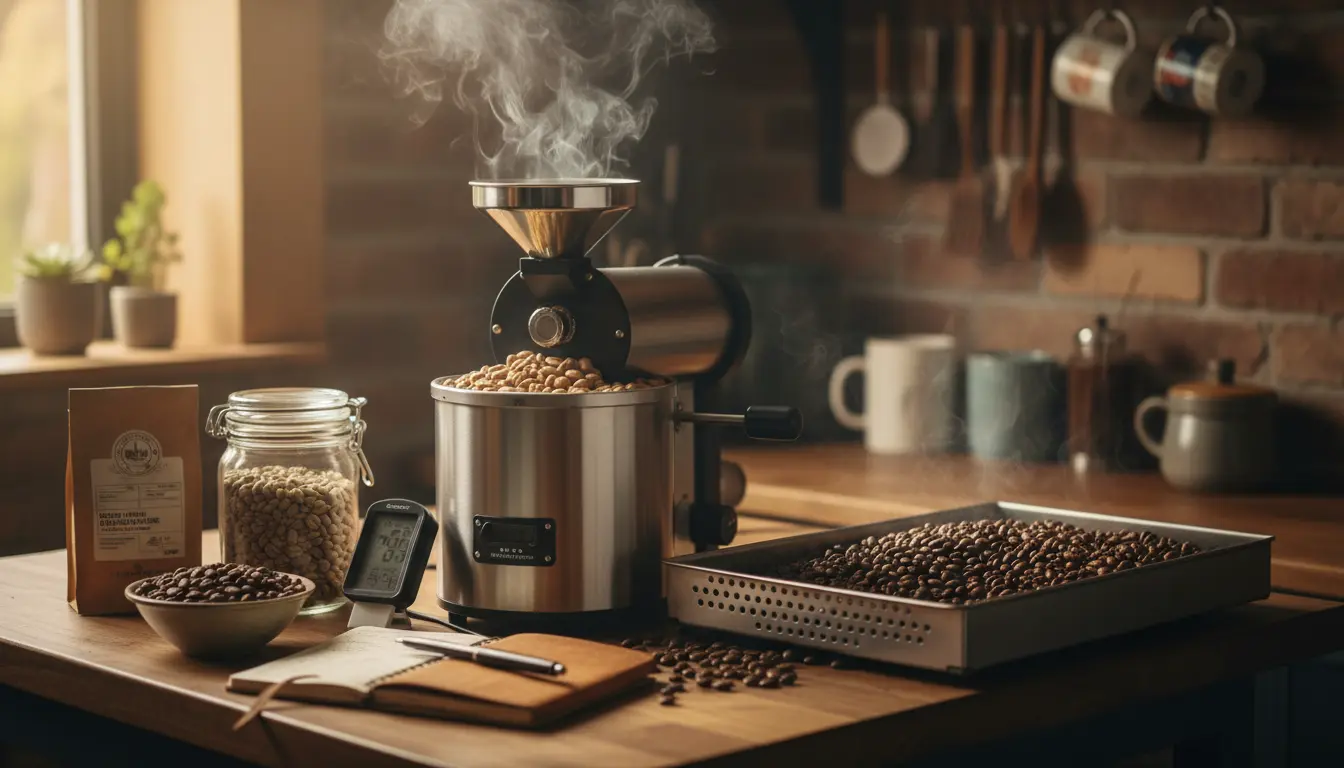
Key items include a small roaster or method, a way to measure temperature and weight, and proper ventilation.
Basic equipment list for home coffee roasting
- Home coffee roaster (air/popcorn style or small drum roaster)
- Digital scale (0.1 g precision recommended)
- Timer and thermometer (if roaster lacks built-in sensors)
- Green coffee beans (small sample bags for practice)
- Cooling tray or colander and a fan for rapid cooling
- Fire extinguisher and good ventilation for safety
Choosing a roaster for home coffee roasting
Select a roaster that matches your goals and budget. Air roasters are simpler and faster, while small drum roasters offer more control for nuanced profiles.

Consider batch size. For beginners, 100–300 g batches are manageable and reduce waste while you learn.
Selecting green coffee beans
Bean selection strongly affects flavor. Start with single-origin, small-batch greens so you can hear how origin changes with roast level.
Buy 250–500 g sample packs from trusted suppliers and label origin, processing, and lot date to track changes over time.
What to look for in green coffee beans
- Freshness and harvest date when possible
- Uniform size and color—fewer defects
- Processing method (washed, natural, honey) to predict sweetness and body
Basic roast stages and profiles for home coffee roasting

Understanding roast stages helps you target flavors. Typical stages: drying, browning, first crack, development, and second crack (for darker roasts).
Track time and temperature and make small changes between roasts to learn what each step does to flavor.
Example roast profile for beginners
- Start weight: 150 g green beans
- Drying: 0–3 minutes—bean temperature rises to ~150°C (300°F)
- Browning: 3–6 minutes—Maillard reactions begin, aroma develops
- First crack: ~6–9 minutes—light roast target just after first crack
- Development: 0.5–2 minutes after first crack—controls acidity and body
Recording and adjusting roasts
Keep a roast log for every batch with date, bean, start weight, times, temperatures, and tasting notes. Small tweaks produce predictable changes.
Adjustments you can make include: increasing airflow, changing roast time, or altering heat application during browning or development.
Roasted coffee continues to develop for several minutes after cooling due to trapped heat. Rapid cooling stops the roast and preserves the intended flavor.
Safety and ventilation for home coffee roasting
Roasting produces smoke, chaff, and hot surfaces. Always roast in a well-ventilated area or under a range hood to reduce smoke exposure and fire risk.
Keep a metal container for hot chaff and never leave a roaster unattended during batches. A small kitchen fire extinguisher is a necessary precaution.
Small real-world case study
Case Study: Sarah, a weekend roaster and local market seller, started with a 200 g drum roaster. She roasted twice weekly, logging each batch for three months.
By adjusting development time from 1 to 1.5 minutes after first crack, she reduced perceived sourness and increased sweetness. Her customer feedback shifted from bland to consistently balanced, and she scaled to 400 g batches for market days.
Basic home coffee roasting checklist
- Choose a small roaster type and learn its heat and airflow behavior
- Buy a variety of green beans in small amounts for testing
- Record each roast: time, temperature, start weight, and cup notes
- Practice consistent cooling to stop the roast quickly
- Follow safety steps: ventilation, extinguisher, and no unattended roasts
Tasting and refining your roast profile
After roasting, wait 12–24 hours before the first tasting; many roasts improve after 1–3 days. Cup the coffee by brewing the same ratio to compare variations reliably.
Use structured tasting notes: acidity, sweetness, body, aftertaste, and any defects. Make one change per roast to identify cause and effect.
Next steps for serious home coffee roasting
Once comfortable, explore small batch blending, different roast curves, and sourcing single-lot beans. Consider joining local roasters’ groups for feedback and bean swaps.
Record data and be patient. Consistent practice and careful notes are the fastest route to predictable, delicious roasts at home.