
Why choose a home compost bin
Composting at home turns kitchen scraps and yard waste into valuable soil amendment. It reduces landfill waste, lowers greenhouse gas emissions, and feeds plants with nutrient-rich compost.
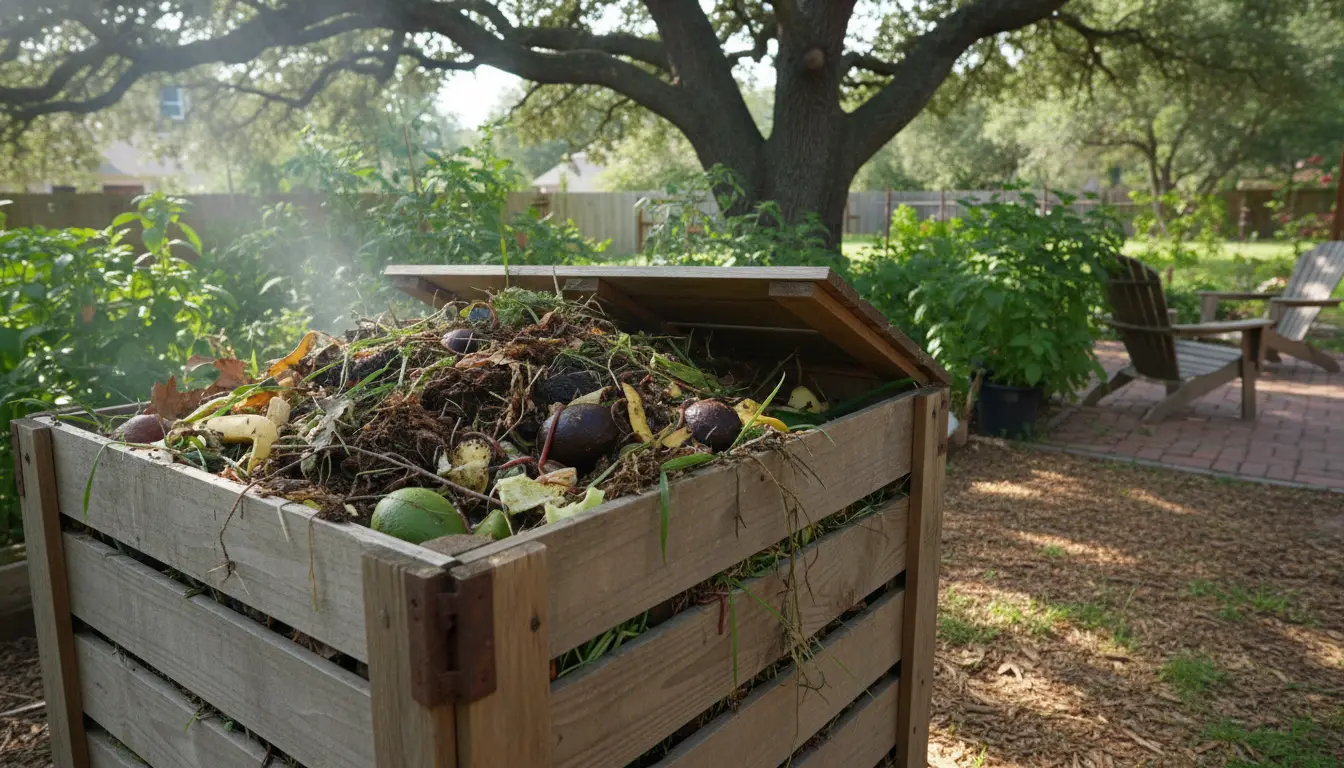
A home compost bin is the simplest way to manage organic waste for most households. It keeps materials contained, helps retain heat, and speeds up decomposition when managed correctly.
Materials and tools for a home compost bin

Start with a basic container and a few simple tools. You do not need expensive equipment to compost effectively.
- Bin: plastic or wooden compost bin with ventilation, or a tumbler if you want faster results.
- Pitchfork or aerator: to turn the pile every few weeks.
- Kitchen caddy: a small container to collect food scraps before moving them outdoors.
- Thermometer (optional): to monitor internal temperature for active composting.
Choosing the right spot for a home compost bin
Select a level, well-drained location near a water source for convenience. Partial shade is best to avoid drying out or overheating the pile.
Avoid placing the bin too close to home entrances or neighbors if odors or pests are a concern. Give yourself easy access for adding materials and turning the pile.
What to put in your home compost bin

Compost needs a balance of carbon-rich “browns” and nitrogen-rich “greens” to decompose efficiently. Aim for roughly a 3:1 ratio of browns to greens by volume.
- Greens: vegetable and fruit scraps, coffee grounds, tea bags, fresh grass clippings.
- Browns: dried leaves, straw, shredded paper, cardboard, small twigs.
- Avoid: meat, dairy, oily foods, diseased plants, and pet waste from carnivores.
Step-by-step setup for a home compost bin
Set up your bin in layers and maintain moisture and airflow. Follow these simple steps to start your first batch.
Step 1: Base layer
Place coarse materials like small twigs or wood chips at the bottom for drainage and airflow. This base helps prevent the pile from becoming compacted.
Step 2: Alternate layers

Add a 2–4 inch layer of browns, then a 1–2 inch layer of greens. Continue layering, aiming to cover fresh food scraps with a brown layer to reduce odors and flies.
Step 3: Maintain moisture and aeration
Keep the pile as damp as a wrung-out sponge. Turn the pile every 1–2 weeks to add oxygen and speed decomposition. If the pile smells, add more browns or turn it more frequently.
Maintenance and troubleshooting for your home compost bin
Routine checks help catch issues early and keep composting on track. Most problems have simple solutions.
- Bad smell: add more browns and turn the pile to introduce air.
- Too dry: water lightly and mix to distribute moisture.
- Pests: cover food scraps with a layer of browns and secure the bin lid. Avoid putting meat and dairy in the pile.
- Slow decomposition: chop materials smaller, maintain moisture, and ensure good aeration.
When is compost ready from your home compost bin?
Finished compost is dark, crumbly, and smells earthy. Depending on management and bin type, compost can be ready in 2 months to a year.
Use finished compost as a soil amendment, mulch, or potting mix ingredient. Screen the compost to remove large pieces that need more time.
A well-managed compost pile can reach internal temperatures of 120 to 160°F, which speeds decomposition and helps kill weed seeds and many pathogens.
Small case study: One family, one bin
In a six-month period, a suburban family of four started a 50-gallon home compost bin. They collected food scraps and yard waste, following the 3:1 browns-to-greens guideline.
By turning the pile every two weeks and adding water as needed, they produced about 40 liters of finished compost. Household food waste to landfill dropped by an estimated 35% during that time.
They used the compost to top up vegetable beds, which improved soil moisture retention and reduced their need for store-bought fertilizer.
Practical tips for long-term success with a home compost bin
- Keep a small kitchen caddy for scraps and empty it regularly into the outdoor bin.
- Chop or shred larger items to speed breakdown.
- Record turning dates and observations to learn what works in your climate.
- Use finished compost gradually and rotate application to avoid nutrient imbalances.
Final checklist before you start your home compost bin
- Choose a bin and location with drainage and partial shade.
- Gather browns and greens and aim for a balanced mix.
- Keep the pile moist and aerated; turn regularly.
- Monitor and adjust to prevent smells and pests.
Starting a home compost bin is an accessible, low-cost way to reduce waste and improve garden soil. With basic materials, a simple routine, and a little observation, most households can produce useful compost within months.