
Why Home Composting Matters
Home composting turns kitchen scraps and yard waste into a useful soil amendment. It reduces landfill volume and feeds your plants without chemical fertilizers.
This guide explains the basics, best practices, troubleshooting, and a simple case study to help you start composting today.
Home Composting Basics

Composting is the controlled decomposition of organic matter by microbes. The result is dark, crumbly compost that improves soil structure and plant health.
Key factors are the right mix of materials, moisture, air, and time.
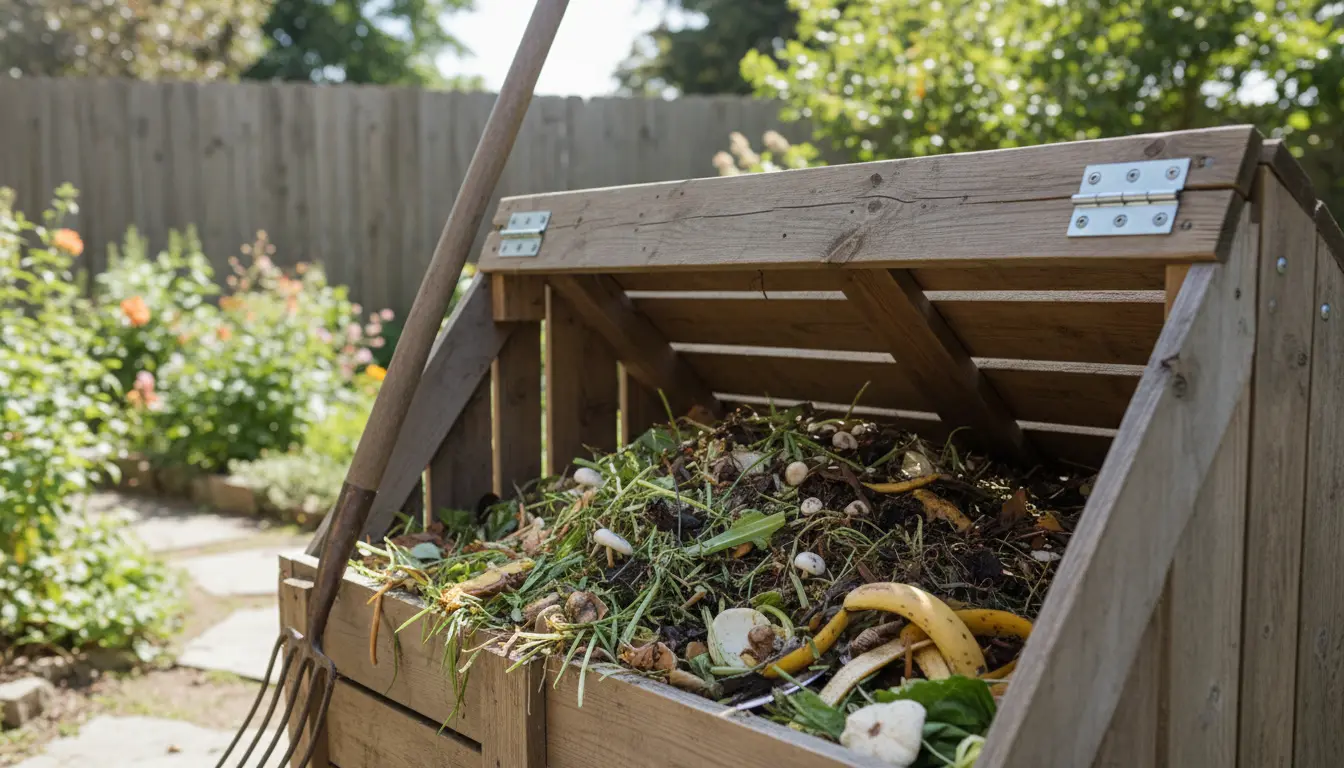
What to Compost
Balance ‘greens’ (nitrogen-rich) and ‘browns’ (carbon-rich). Aim for a mix close to 30:1 carbon to nitrogen by weight for active composting.
- Greens: vegetable scraps, fruit peels, coffee grounds, fresh grass clippings.
- Browns: dry leaves, straw, shredded paper, cardboard, sawdust (untreated).
- Do not compost: meat, dairy, oils, diseased plants, and pet waste from carnivores.
Choosing a Bin or Pile

Options include tumblers, open bins, and stationary enclosed bins. Choose based on space, budget, and how quickly you want compost.
- Tumbler: faster mixing, less turning effort, good for small yards.
- Open pile: cheapest, works well for larger yards but needs turning.
- Enclosed bin: tidier, retains heat and moisture, reduces pests.
Step-by-Step Composting Process
Follow these practical steps to build and maintain a healthy compost system.
1. Build the Base
Start with a 4–6 inch layer of coarse browns like small branches or straw to improve airflow. This helps drainage and prevents anaerobic pockets.
2. Layer Materials

Alternate greens and browns in layers. Aim for roughly equal volumes, or slightly more browns to avoid odors.
Chop larger items to speed decomposition.
3. Moisture and Air
Keep the pile as damp as a wrung-out sponge. Too dry and decomposition slows; too wet and it will smell.
Turn the pile every 1–2 weeks to add oxygen and distribute moisture and heat.
4. Temperature and Time
Active piles heat to 120–160°F (50–70°C), which speeds breakdown and kills many weed seeds. Cooler piles compost more slowly but still work.
Compost can be ready in 2–6 months for active systems and 6–12 months for passive piles.
Troubleshooting Common Problems
Knowing common issues helps you keep your compost healthy and productive.
Bad Odor
Cause: Too wet or too much nitrogen. Solution: Add more brown materials and turn the pile to aerate it.
Flies and Pests
Cause: Exposed food scraps or meat/dairy in the pile. Solution: Bury food under a layer of browns or use a closed bin. Avoid meat and greasy foods.
Slow Decomposition
Cause: Too dry, too cold, or materials too large. Solution: Add water, chop materials, provide insulation, or add more green materials.
Composting one ton of food scraps can prevent about 1,000 kg of CO2-equivalent greenhouse gases from entering the atmosphere compared with landfilling the same material.
Tips to Speed Up Composting
- Shred or chop materials before adding them.
- Maintain a moist but not soggy pile.
- Turn regularly to keep oxygen flowing.
- Add finished compost as an activator to new piles.
- Use a compost thermometer to monitor progress.
Using Finished Compost
Finished compost is dark, crumbly, and has an earthy smell. Use it as a soil amendment, top dressing, or potting mix component.
Apply a 1–3 inch layer to garden beds or mix 10–30% compost into potting soil for potted plants.
Case Study: A Small Backyard Compost System
Maria, a homeowner with a small backyard, started a 3-bin system using open plastic bins. She saved food scraps, shredded leaves in fall, and turned weekly.
Within six months she produced about 0.5 cubic meters of compost. Her tomatoes showed improved growth and required less watering after she mixed compost into the planting beds.
Key actions that led to success: balanced greens and browns, weekly turning, and keeping the pile moist but not wet.
Simple Checklist to Start Your Own Compost
- Choose a bin type and spot with good drainage.
- Gather a supply of browns and greens.
- Layer and moisten materials.
- Turn periodically and monitor moisture.
- Use finished compost in your garden.
Starting small and learning as you go is the most practical approach. Composting is flexible and can fit apartment balconies, community gardens, and large yards.
With a little practice, you’ll reduce waste and create a valuable soil amendment that improves plant health and soil resilience.