
Why home composting matters
Home composting turns kitchen scraps and yard waste into nutrient-rich soil. It reduces household waste and helps gardens retain water and grow healthier plants.
Composting is simple to start and scales to any space, from small balconies to backyard piles. This guide focuses on practical steps and common problems so you can get results quickly.
Basic principles of home composting

Compost is produced when microorganisms break down organic matter. The process needs the right balance of carbon, nitrogen, moisture, and air.
Think of carbon-rich materials as brown and nitrogen-rich materials as green. A balanced mix speeds decomposition and prevents odors.
Key components for home composting
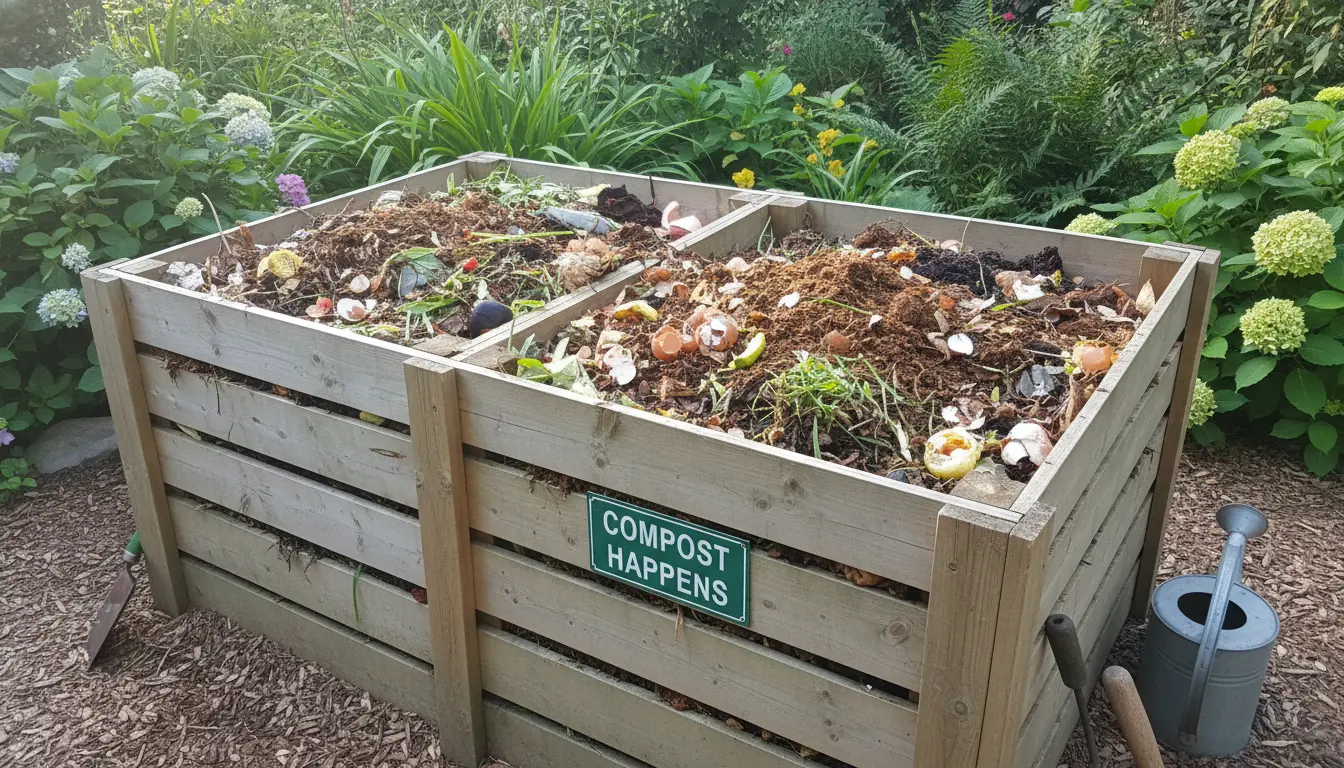
- Browns (carbon): dry leaves, straw, shredded paper, cardboard.
- Greens (nitrogen): vegetable scraps, coffee grounds, green yard waste.
- Moisture: compost should feel like a wrung-out sponge — damp but not dripping.
- Air: turning or mixing introduces oxygen for aerobic microbes.
How to start home composting
Choose a system: a simple bin, tumbler, or a DIY pile will work. Match the system to your available space and how quickly you want compost.

Locate the bin on level ground with good drainage and partial shade. This keeps the pile active without drying out in summer or freezing solid in winter.
Step-by-step setup for beginners
- Place a 4–6 inch layer of browns as a base to help drainage.
- Add a layer of greens (kitchen scraps, fresh grass clippings).
- Alternate layers of browns and greens, aiming for roughly 3:1 browns to greens by volume.
- Keep the pile moist and turn it every 1–2 weeks to add air.
What you can and cannot compost at home
Knowing what to add keeps your compost healthy and pest-free. Use the list below to guide your inputs.
Good items for home composting
- Fruit and vegetable scraps
- Eggshells (crushed)
- Coffee grounds and filters
- Tea bags (without plastic seal)
- Yard trimmings and dead leaves
- Shredded paper and cardboard
Items to avoid in home composting
- Meat, fish, and dairy — attract pests and create odors
- Oily or greasy foods
- Diseased plants or invasive weeds with seeds
- Pet waste from carnivores
- Coal or charcoal ash
Troubleshooting common home composting problems
Problems usually come from imbalanced ingredients, too little air, or incorrect moisture. Most issues are easy to fix with a few adjustments.
Odor or slimy pile

Cause: too much green material or excess moisture. Fix: add more browns, break up compacted layers, and turn the pile more often.
Slow decomposition
Cause: pile is too dry, too cold, or lacking nitrogen. Fix: moisten the pile, add fresh greens, or increase surface area by shredding materials.
Pests or rodents
Cause: meat, dairy, or large chunks of food in an open bin. Fix: remove offending items, bury food in the center, or use a secure closed bin or tumbler.
When is compost ready to use?
Finished compost is dark brown, crumbly, and smells earthy. Smaller bins or cooler seasons make the process slower, often taking 4–12 months.
Use finished compost as a soil amendment, top dressing, or to make potting mixes. Avoid using unfinished compost directly on seedlings as it may still draw nitrogen during decomposition.
Real-world example: small-scale success
Case study: Maria, a renter in Austin, started a 50-gallon tumbler on her apartment balcony. She collected weekly fruit and vegetable scraps and mixed them with shredded paper.
Within six months she produced about 80 liters of finished compost. She used it to repot herbs and noticed healthier growth and less need for fertilizer.
Tools and additions to speed up home composting
Basic tools include a garden fork or turning tool, a water can for moisture control, and a thermometer if you want to monitor heat.
Optional additions like compost starters or accelerants speed microbial activity, but are not required with a good balance of browns and greens.
Simple maintenance checklist for home composting
- Turn or mix the pile every 1–2 weeks for faster breakdown.
- Monitor moisture: add water or dry browns as needed.
- Add a variety of materials to balance nutrients.
- Harvest finished compost and refresh the bin with new layers.
Home composting is a practical, low-cost way to reduce waste and improve garden soil. Start small, keep the basics in balance, and adjust as you learn what works for your climate and living situation.