
Why home composting is useful
Composting turns kitchen and yard waste into nutrient rich soil. It reduces landfill volume and cuts household waste costs.
This guide gives clear steps to start and maintain a compost pile or bin at home. Follow the practical tips to get steady results fast.
Basic principles for Home Composting for Beginners

Compost breaks down when it has the right mix of carbon, nitrogen, air, and moisture. Aim for a steady balance for faster decomposition.
Keep material chopped and mixed, and avoid items that cause pests or odors. Small, regular efforts yield good compost within months.
Home Composting for Beginners: Materials to use
Sort materials into browns and greens. Browns provide carbon and greens give nitrogen.
- Browns: dry leaves, shredded paper, straw, cardboard
- Greens: vegetable peels, coffee grounds, grass clippings
- Avoid: meat, dairy, oily foods, diseased plants, pet waste
Choosing a compost method

Pick a method that fits your space and time. Common options are pile, bin, and worm composting, known as vermicomposting.
Each method has pros and cons depending on how fast you want compost and how much work you can do.
Common methods and their benefits
- Open pile: simple and low cost, needs space and occasional turning.
- Compost bin: tidier and faster than a pile, good for small yards.
- Vermicompost: uses worms, works indoors or on balconies, great for food scraps.
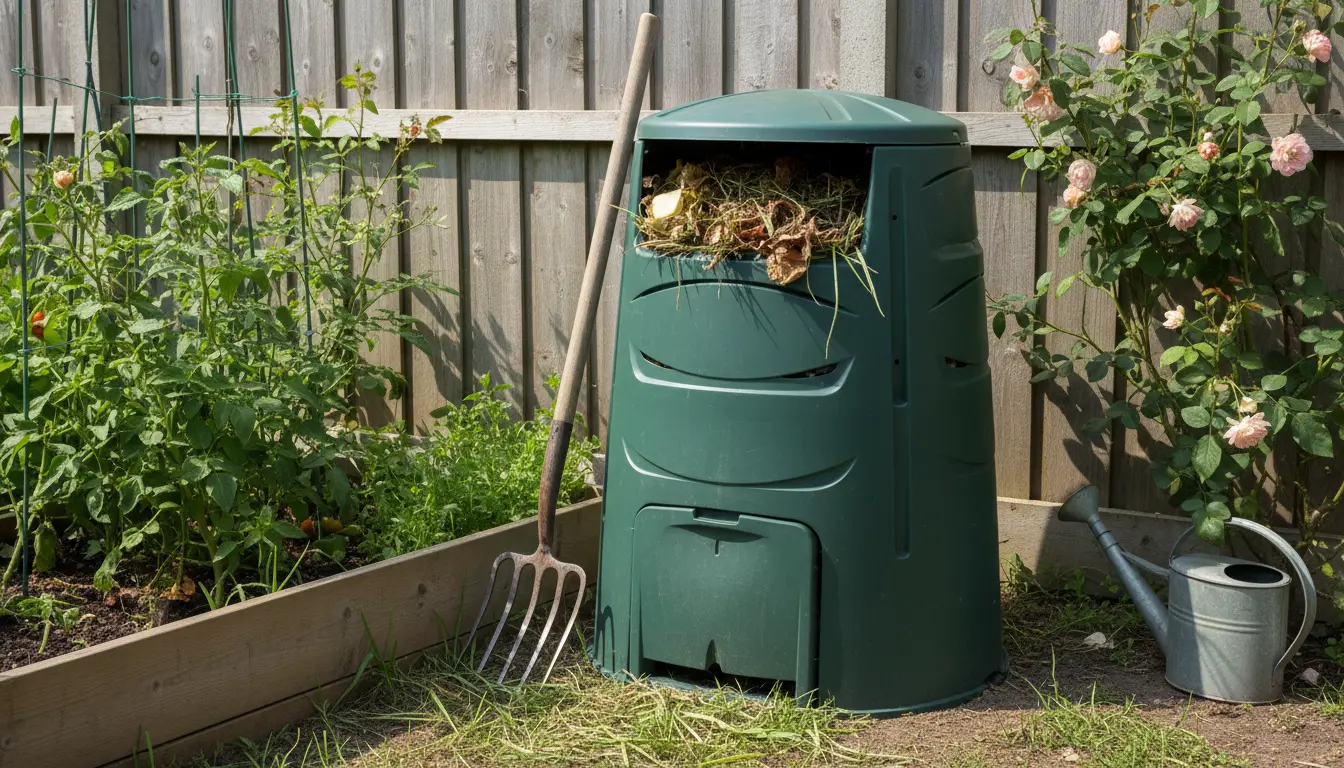
Step by step: How to start your compost bin
Choose a dry, shaded spot near a water source. A level base helps drainage and access for turning.

Follow these startup steps to build a healthy pile.
- Lay down a 4 to 6 inch base of coarse browns for airflow.
- Add alternating layers of greens and browns, each a few inches thick.
- Moisten layers so they are damp like a wrung-out sponge.
- Turn the pile every 1 to 2 weeks to add air and speed decomposition.
Maintaining moisture and airflow
Check moisture weekly. Too dry slows microbes, too wet causes smells. Adjust with water or extra browns.
Turning the pile prevents compacting and supplies oxygen to microbes. Use a pitchfork or compost turner tool.
Compost can reach temperatures of 130 to 160 F in a hot pile, which helps kill weed seeds and pathogens. Even a slow cold compost will produce rich soil over time.
Troubleshooting common problems
Smells usually mean too much green or poor airflow. Add browns and turn the pile to restore balance.
Pests are attracted by meat or oily food. Remove those items and use a closed bin or wire mesh barrier if needed.
Signs of a healthy compost pile
- Earthy smell, not rotten odor
- Warm center when active
- Presence of worms and decomposer insects
How to know when compost is ready
Finished compost looks dark, crumbly, and smells like soil. Most large pieces will be broken down and not recognizable.
Screen the compost to remove large fragments, then use it in the garden, in pots, or as a mulch layer.
Ways to use finished compost
- Mix into garden beds to improve soil structure and nutrients
- Top dress lawns or potted plants to boost growth
- Combine with potting mix for container gardening
Short case study: Small apartment vermicompost
Maria, a city renter, started a two bin worm system in a kitchen closet. She used food scraps and shredded paper as bedding.
After three months she harvested dark crumbly compost and reduced her weekly trash by half. Her potted herbs grew stronger with the new soil.
Quick checklist for Home Composting for Beginners
- Choose a method that fits your space and schedule
- Balance greens and browns, and keep moisture steady
- Turn regularly and watch for pests or odors
- Use finished compost in soil or as mulch
Final practical tips
Start small and expand as you learn what works in your climate. Keep notes on layers, moisture, and turning frequency.
Composting is a simple habit that pays off with less waste and healthier plants. Begin with a few basic steps and adjust over time.