
Home composting is an effective way to reduce kitchen waste and produce nutrient-rich soil for your garden. This guide explains straightforward steps for home composting for beginners, using simple methods you can start today.
Why Home Composting for Beginners Matters
Composting diverts organic waste from landfills and lowers methane emissions. It also improves soil structure and reduces the need for chemical fertilizers.

For beginners, composting is accessible: you can start with a small bin on a balcony or a pile in the backyard.
Basic Principles of Home Composting for Beginners
Compost works when microorganisms break down organic material into humus. Successful composting balances carbon-rich “browns” with nitrogen-rich “greens” and maintains moisture and aeration.
Key factors are: carbon to nitrogen ratio, particle size, moisture level, and airflow.
What to Add and What to Avoid

Follow a simple rule: mix browns and greens. Browns include dry leaves, paper, and straw. Greens include vegetable scraps, coffee grounds, and grass clippings.
Avoid adding meat, dairy, diseased plants, or oily food, as these attract pests and slow decomposition.
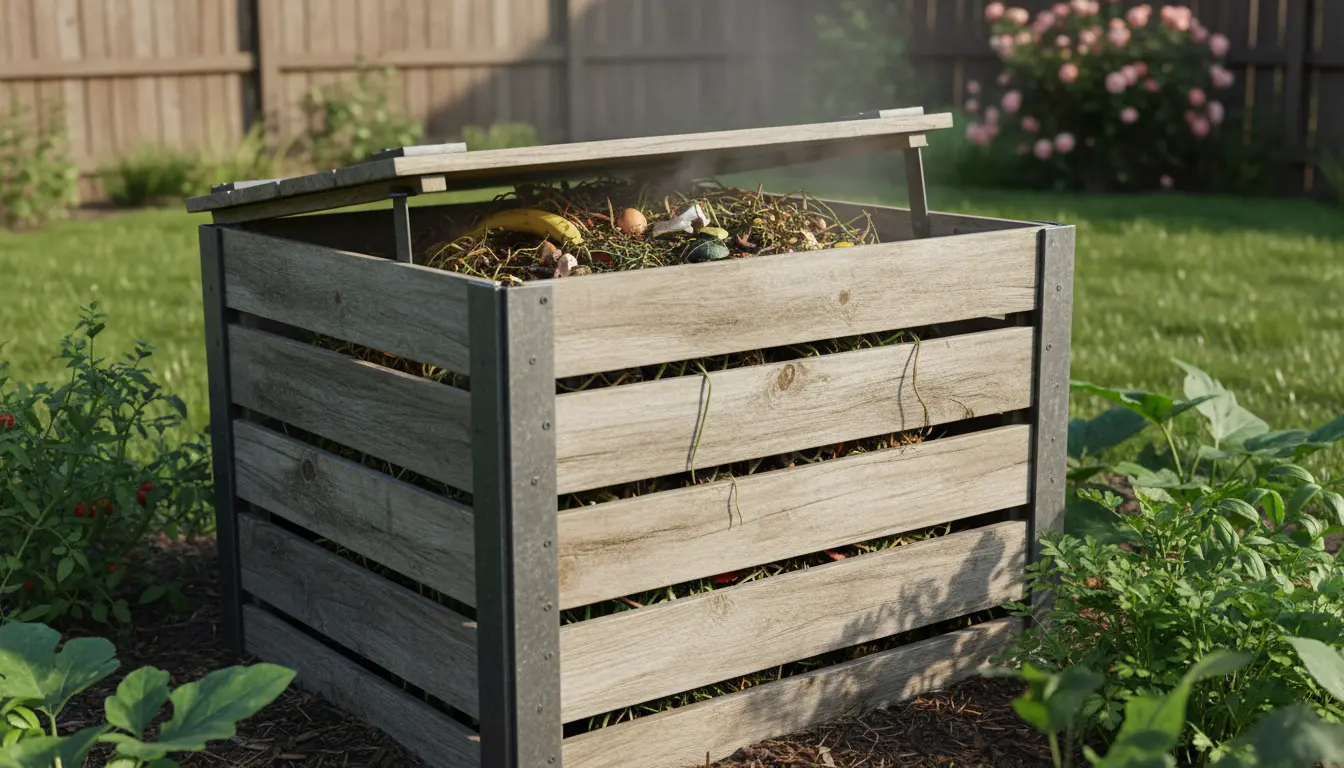
Choosing a Bin or System
Select a compost system that matches your space and schedule. Options include tumblers, stationary bins, compost trugs, and open piles.

Tumblers speed up turning, while stationary bins are low-cost and simple. Balcony composters and worm bins (vermicomposting) are great for apartments.
Choosing the Right Bin for Home Composting for Beginners
- Small outdoor bin: Best for regular backyard use and medium volumes of waste.
- Tumbler: Good for faster compost with easy turning; limited capacity may require planning.
- Vermicompost bin: Ideal for kitchens and apartments, using worms to process scraps.
- Open pile: Minimal cost but needs space and basic management to avoid odors.
Step-by-Step: How to Start Home Composting for Beginners
Follow these steps to build a healthy compost pile in your chosen system. Each step takes a few minutes but pays off over weeks and months.
1. Prepare a Base and Add Browns
Start with a layer of coarse browns like twigs or straw to improve airflow. Then add a thicker layer of mixed browns and greens.
2. Add Greens and Keep Layers
Alternate thin layers of greens and thicker layers of browns to maintain a good carbon-to-nitrogen ratio. Chop larger items to speed decomposition.
3. Maintain Moisture and Aeration
Moisture should feel like a wrung-out sponge. If too dry, add water; if too wet, add more browns and turn the pile.
Turn the pile every 1–3 weeks to introduce oxygen. Tumblers make this step easier.
4. Monitor and Troubleshoot
- Bad odors: Add more browns and aerate the pile.
- Slow breakdown: Chop materials finer and ensure proper moisture and greens-to-browns balance.
- Pests: Avoid meat and dairy, and use enclosed bins or secure lids.
Using Finished Compost
Compost is ready when it is dark, crumbly, and earthy-smelling. This usually takes 2–6 months depending on conditions.
Use finished compost to top-dress lawns, enrich garden beds, mix into potting soil, or make compost tea for plants.
Practical Tips for Home Composting for Beginners
- Keep a small kitchen caddy for scraps and empty it daily to the outdoor bin.
- Store shredded paper or dried leaves to balance greens when needed.
- Label bins and keep a simple log of turning and additions to track progress.
Compost can retain moisture in soil, reducing watering needs by up to 25 percent in established beds.
Common Mistakes and How to Avoid Them
Beginners often add too many greens, forget to aerate, or place the bin in full sun. Each can be corrected with simple changes.
- Too wet: Add shredded cardboard or leaves and turn the pile.
- Not breaking down: Chop items and increase turning frequency.
- Smells: Balance with browns and avoid anaerobic compaction.
Case Study: Small Urban Garden Success
A city resident with a balcony started a vermicompost bin using kitchen scraps and shredded newspaper. Within three months, the worm castings produced a rich amendment that she mixed into container soil.
The result: healthier tomato plants and reduced grocery waste by nearly 40 percent in six months. The system required 10 minutes weekly and a 5-gallon indoor starter bin.
Final Checklist for Home Composting for Beginners
- Choose a bin that fits your space and volume needs.
- Maintain a mix of browns and greens and keep moisture balanced.
- Turn or aerate regularly and monitor for pests or odors.
- Harvest finished compost and use it in your garden to close the loop.
Home composting for beginners is manageable with small routines and basic attention. Start small, learn by doing, and adjust as you go. Over time, composting saves waste, improves soil, and supports healthier plants.