
Why Home Composting Matters
Home composting turns kitchen scraps and yard waste into nutrient-rich soil. It reduces landfill trash and helps your garden retain water and nutrients.
For beginners, composting is a simple habit that pays off in better soil and lower waste costs. This guide gives practical steps to set up and maintain a working compost bin.
Choose the Right Bin for Home Composting

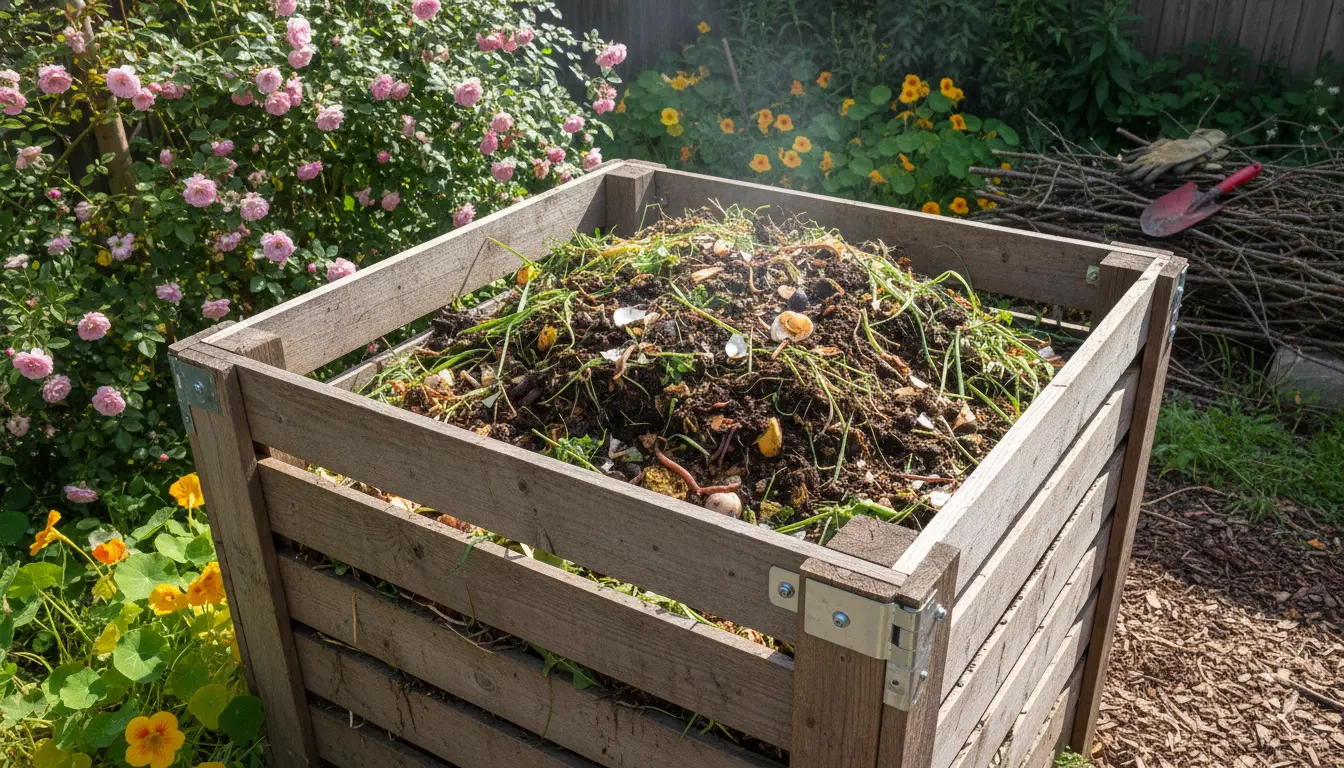
Select a bin based on space, budget, and volume of waste. Options include tumbler bins, stationary bins, and simple open piles.
Tumbler bins speed up mixing and are tidy for small yards. Stationary bins are low cost and handle larger volumes but need a pitchfork to turn.
Where to Place Your Compost Bin
Place the bin on bare soil if possible to allow worms and microbes to access the pile. Choose a partly shaded spot to keep moisture even.

Keep it within easy reach of your kitchen for convenience, but far enough away to avoid household odors.
What to Compost: Greens and Browns
Successful home composting depends on the right mix of materials. Think of materials as greens (nitrogen) and browns (carbon).
Greens: vegetable scraps, fruit peels, coffee grounds, fresh grass clippings. Browns: dry leaves, shredded paper, cardboard, straw.
- Aim for roughly 2–3 parts browns to 1 part greens by volume.
- Layer materials rather than piling a single type on top.
- Chop large items to speed decomposition.
Basic Steps to Start Home Composting

Follow a simple routine to keep your compost healthy. Regular attention prevents smells and speeds up breakdown.
- Start with a 10–20 cm layer of browns as a base for airflow.
- Add alternating layers of greens and browns.
- Keep the pile moist like a wrung-out sponge.
- Turn or mix the pile every 1–2 weeks to add oxygen.
Speeding Up Composting
Smaller particle sizes, frequent turning, and a balanced moisture level accelerate decomposition. A compost thermometer can show when the pile is active.
Hot composting (55–65°C) can break down material in weeks, while cold composting takes months but requires less work.
About 30% of household waste is compostable. Composting at home can significantly cut your trash and create valuable soil amendments.
Troubleshooting Common Home Composting Problems
Bad smells usually mean too many greens or excess moisture. Add dry browns and turn the pile to introduce air.
Pests are attracted to meat, dairy, and oily food. Avoid these items or use a closed bin with secure lids.
Slow decomposition often signals low nitrogen or large pieces. Add fresh greens or chop materials finer to improve speed.
Signs Your Compost Is Ready
Finished compost is dark, crumbly, and earthy-smelling. You should no longer recognize the original scraps.
Test readiness by placing a handful in a pot with a seedling; if plants grow well, the compost is mature and safe to use.
How to Use Your Finished Compost
Apply compost as a top dressing to lawns, mix into garden beds, or create potting mixes. A thin layer boosts soil structure and nutrient levels.
Use compost at planting time or as a side-dress for established vegetables. It improves water retention and supports beneficial microbes.
Practical Tips and Examples for Home Composting
Keep a small counter bucket to collect kitchen scraps and empty it daily into the outdoor bin. Freeze smelly items if you won’t empty them soon.
- Shred paper and cardboard before adding to the bin.
- Avoid adding diseased plant material or invasive weeds that could survive the composting process.
- Use garden lime sparingly if the pile becomes too acidic.
Case Study: Urban Apartment Home Composting
Maria, a renter in a two-bedroom apartment, started a small vermicompost bin on a balcony. She used a 20-liter worm bin and added kitchen scraps daily.
After six months, she reduced her weekly trash by nearly half and produced enough compost to top-dress her five balcony planters. Her tomatoes yielded earlier and required less watering.
Key takeaways: choose a compact system, keep worms warm and moist, and process only suitable scraps to avoid pests.
Common Mistakes to Avoid
- Adding meat, dairy, or oily foods to open piles—use a sealed system instead.
- Ignoring moisture—both dry and waterlogged piles slow decomposition.
- Overturning the pile too often—gentle, regular aeration is better than constant disruption.
Final Checklist for Home Composting Success
- Choose the right bin for your space.
- Balance greens and browns and maintain moisture.
- Turn the pile periodically and watch for pests or odors.
- Use finished compost to improve soil and reduce waste.
With a small investment of time and simple routine care, home composting becomes a productive part of your household. Try one method, observe the results, and adjust to fit your space and lifestyle.