
Home Composting for Beginners: Getting Started
Home composting turns kitchen scraps and yard waste into a nutrient-rich soil amendment. This guide gives clear, practical steps for beginners to start composting at home with minimal tools and space.
Focus on simple routines and consistent effort. Composting is largely about balance and patience rather than complex equipment.
Why Choose Home Composting

Composting reduces household waste and produces valuable compost for gardens and potted plants. It lowers methane emissions from landfills and improves soil structure, moisture retention, and plant health.
Even small efforts, like using a countertop bin and a backyard pile, make a measurable impact over time.
Food scraps and yard waste make up about 30% of household trash. Composting these can reduce weekly garbage by a third.
Basic Components of Home Composting

Good compost needs three main things: the right materials, air, and moisture. Balancing these makes decomposition efficient and odor-free.
- Browns: Dry, carbon-rich materials such as dried leaves, cardboard, and shredded paper.
- Greens: Nitrogen-rich items like fruit and vegetable scraps, coffee grounds, and fresh grass clippings.
- Air and Water: Oxygen is necessary for aerobic breakdown; moisture should feel like a wrung-out sponge.
What to Compost at Home
Most plant-based kitchen scraps and yard waste are safe. Good items include fruit and vegetable peels, coffee grounds, eggshells, leaves, and small branches.
Avoid meat, dairy, oils, and diseased plants in open backyard piles to prevent pests and odors.
Choosing a Bin for Home Composting

Select a bin that fits your space and lifestyle. Options include simple piles, tumblers, stationary bins, and worm bins (vermicomposting).
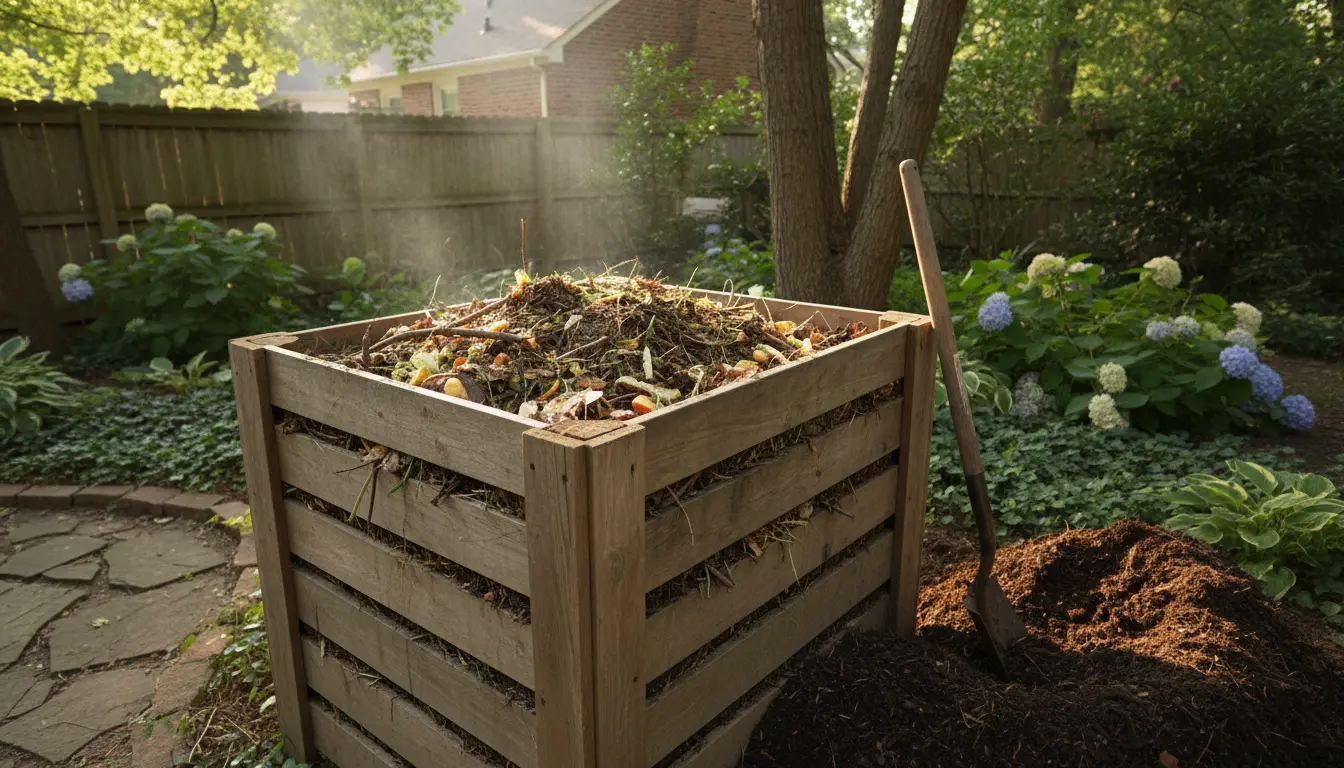
- Backyard bin or pile: Low cost and scalable for yards.
- Tumbler: Easier turning and faster composting in smaller spaces.
- Worm bin: Great for apartments; uses red worms to process food scraps quickly.
Small Space Tips
Apartment dwellers can use a small worm bin or a sealed counter bucket for scraps that are emptied into a community compost or outdoor bin.
Place bins on a balcony or under a sink depending on the system chosen.
Step-by-Step Composting Process
Follow these steps to start and maintain a healthy home compost system.
- Pick a location — a dry, shaded spot near water is ideal for outdoor bins. For indoor systems, choose a cool, ventilated area.
- Layer materials — begin with a layer of coarse browns (small branches) for airflow, then alternate greens and browns.
- Maintain moisture — aim for dampness like a wrung-out sponge. Add water during dry spells or add dry browns if too wet.
- Turn regularly — every 1–2 weeks for active piles or tumblers to add oxygen and speed decomposition.
- Harvest finished compost — after a few months to a year, finished compost is dark, crumbly, and earthy-smelling.
Troubleshooting Common Problems
Bad smells often mean too much moisture or too many greens. Add dry browns and turn the pile. Slow decomposition may indicate a lack of nitrogen, moisture, or air; add greens, water, and turn more often.
Pests? Make sure meat and dairy are out, bury fresh scraps under a brown layer, or use a sealed bin.
Practical Tips for Home Composting Success
- Chop or shred large items to speed breakdown.
- Keep a small kitchen container with a tight lid for scraps; empty it into the main bin daily.
- Use a carbon-rich cover (leaves or straw) after adding fresh food scraps to reduce flies and odor.
- Test compost temperature to track activity; an active pile will feel warm in the center.
Case Study: Apartment Composting Made Simple
Maria lives in a city apartment and wanted to reduce waste. She started a 10-liter worm bin under her kitchen sink and used a countertop pail for scraps. After six months she produced enough compost to top up three balcony planters.
Key actions: she collected only fruit and vegetable scraps, shredded paper for bedding, fed the worms small portions, and harvested compost every three months. Her weekly trash volume dropped by about 25%.
Using Finished Compost
Use finished compost as a soil amendment by mixing it into garden beds or potting soil. It improves soil structure and adds slow-release nutrients.
Top-dress lawn or houseplants with a thin layer to improve moisture retention and microbial life.
Final Checklist for Home Composting for Beginners
- Choose the right system for your space (pile, bin, tumbler, or worm bin).
- Balance greens and browns and maintain moisture and airflow.
- Chop materials, turn the pile, and monitor for pests and odors.
- Harvest and use finished compost to improve soil and reduce waste.
Start small, adjust as you go, and remember that regular attention pays off. Home composting for beginners is straightforward and scalable to any living situation.