
Why composting at home matters
Composting at home reduces household waste, returns nutrients to soil, and lowers your carbon footprint. It is a practical step for gardeners and anyone who wants to divert organic waste from landfills.
This guide gives clear, actionable steps for beginners to set up and maintain a home compost system with minimal trouble.
How composting at home works

At its core, composting is the controlled breakdown of organic materials by microbes, fungi, and small invertebrates. A balanced mix of carbon rich and nitrogen rich materials, moisture, air, and time produces crumbly, dark humus.
Understanding these inputs helps you troubleshoot problems and speed up the process.
Basic components for successful composting at home
- Carbon materials (browns): dry leaves, straw, cardboard, shredded paper
- Nitrogen materials (greens): vegetable scraps, coffee grounds, fresh grass clippings
- Air: occasional turning to provide oxygen
- Moisture: similar to a wrung-out sponge, not soggy
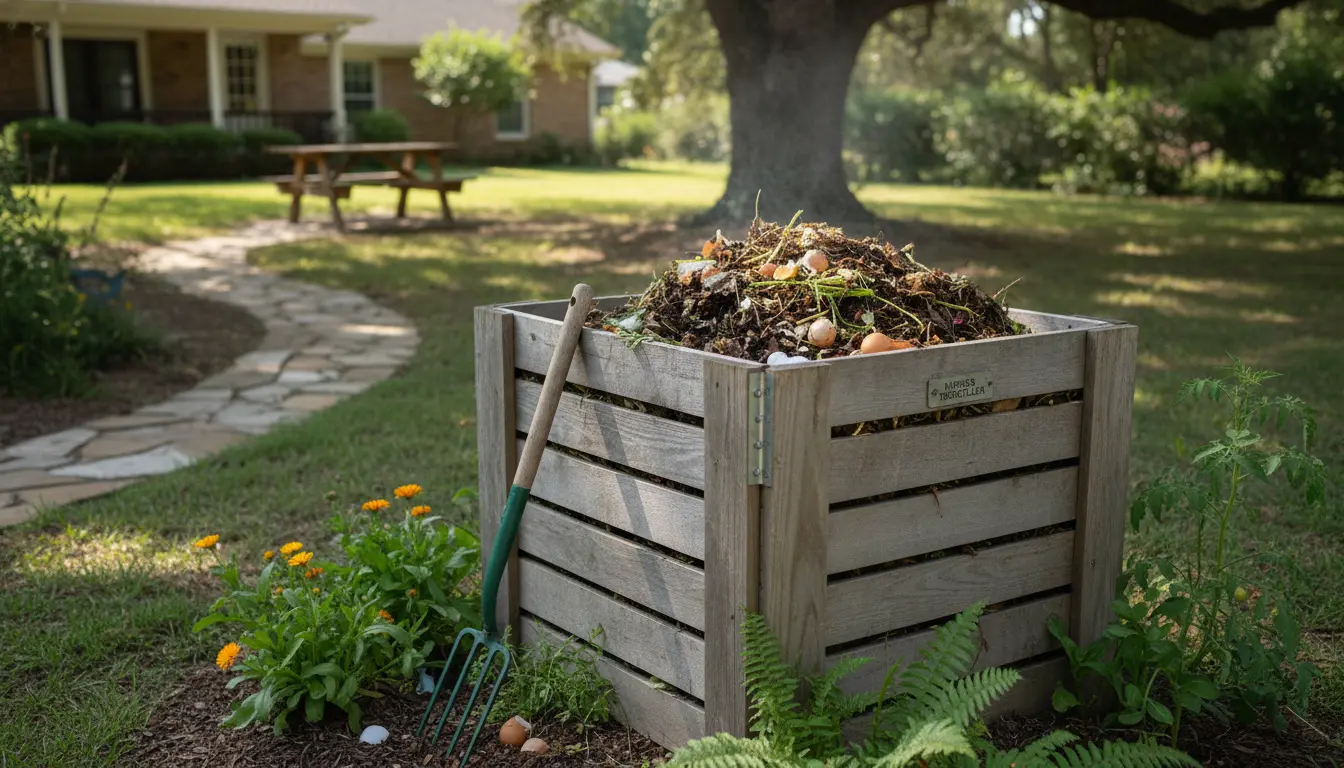
Choosing the right compost bin for home composting
Your choice of container affects space, speed, and maintenance. Match the bin to your available space and activity level.
Bin options for composting at home
- Open pile: Works well in yards and for large gardens. Easy to add materials but less tidy.
- Plastic tumblers: Good for faster composting and small spaces. Tumblers make turning simple.
- Static bin with lid: Low maintenance and tidy, ideal for suburban yards.
- Worm bin (vermicompost): Excellent for apartments or small amounts of kitchen waste. Produces nutrient-dense castings.

Pick one based on how much kitchen and yard waste you generate and how often you want to manage the pile.
Step by step: How to start composting at home
Follow these basic steps to create a functioning compost system that stays balanced and odor-free.
1. Select a site and container
Place the bin on bare soil when possible to allow organisms to move in. Choose a partially shaded spot to keep moisture steady.
2. Build a base layer

Start with coarse browns like twigs or straw to improve drainage and airflow. This prevents the bottom from becoming waterlogged.
3. Add materials in layers
Alternate thin layers of greens and browns. Avoid thick single layers that smother airflow. A good general rule is two to three parts browns to one part greens.
4. Keep it moist and aerated
Water the pile if it becomes dry. Turn the pile every 1 to 2 weeks for faster composting. For tumblers, spin them twice a week.
5. Troubleshoot common problems
- Bad smell: Add more browns and turn the pile. Smells mean too much nitrogen or poor airflow.
- Slow breakdown: Chop materials smaller and increase turning.
- Pests: Avoid adding meat, dairy, oily foods, and large unprocessed bones.
What to compost and what to avoid when composting at home
Choosing the right materials keeps the pile healthy and prevents pests.
Safe items for home composting
- Fruit and vegetable scraps
- Coffee grounds and tea bags
- Eggshells
- Dry leaves, straw, and cardboard
- Grass clippings in small amounts
Items to avoid
- Meat, fish, dairy, and greasy foods
- Diseased plants or plants treated with persistent pesticides
- Pet waste from carnivores
- Large wood logs or branches that take too long to break down
Maintenance tips for steady home composting
Regular attention keeps the process smooth and predictable. Small, consistent actions prevent problems from growing.
- Turn regularly for aerobic composting and faster breakdown
- Monitor moisture and add water or dry browns as needed
- Keep a kitchen scrap container with a lid to collect greens between additions
- Chop or shred large items to speed decomposition
How long until compost is ready
Compost can take anywhere from two months to a year, depending on method, materials, and maintenance. Hot composting with frequent turning yields finished compost faster.
Finished compost is dark brown, crumbly, and smells earthy. Sift out large undecomposed pieces and return them to the pile.
Simple case study: A suburban family starts composting at home
A family of four started composting with a 60 liter tumbler in their backyard. They collected kitchen scraps in a small counter bucket and added dry leaves from their yard twice a week.
After three months of turning the tumbler twice a week and keeping a mix of browns and greens, they produced usable compost for their vegetable beds. The compost improved soil moisture retention and reduced store-bought fertilizer use.
Practical examples and quick checklist for new composters
Use this quick checklist to begin composting at home without overcomplicating things.
- Choose a bin that fits your space
- Start with a base layer of coarse browns
- Collect kitchen scraps in a lidded container
- Layer greens and browns, keep moist, and turn regularly
- Avoid meat and dairy to prevent pests
After a few months, test the compost in a small pot. If plants respond well, expand your use to garden beds and potted plants.
Final practical tips for ongoing success
Composting at home is low cost and flexible. Start small, learn the signs of imbalance, and adjust materials rather than abandoning the pile.
With a little attention, home composting becomes a reliable source of soil amendment and a simple way to reduce household waste.