
How to Start a Home Compost Bin
Starting a home compost bin turns kitchen scraps and yard waste into nutrient-rich compost. This guide explains the practical steps, common materials, and simple maintenance you need to start composting at home.
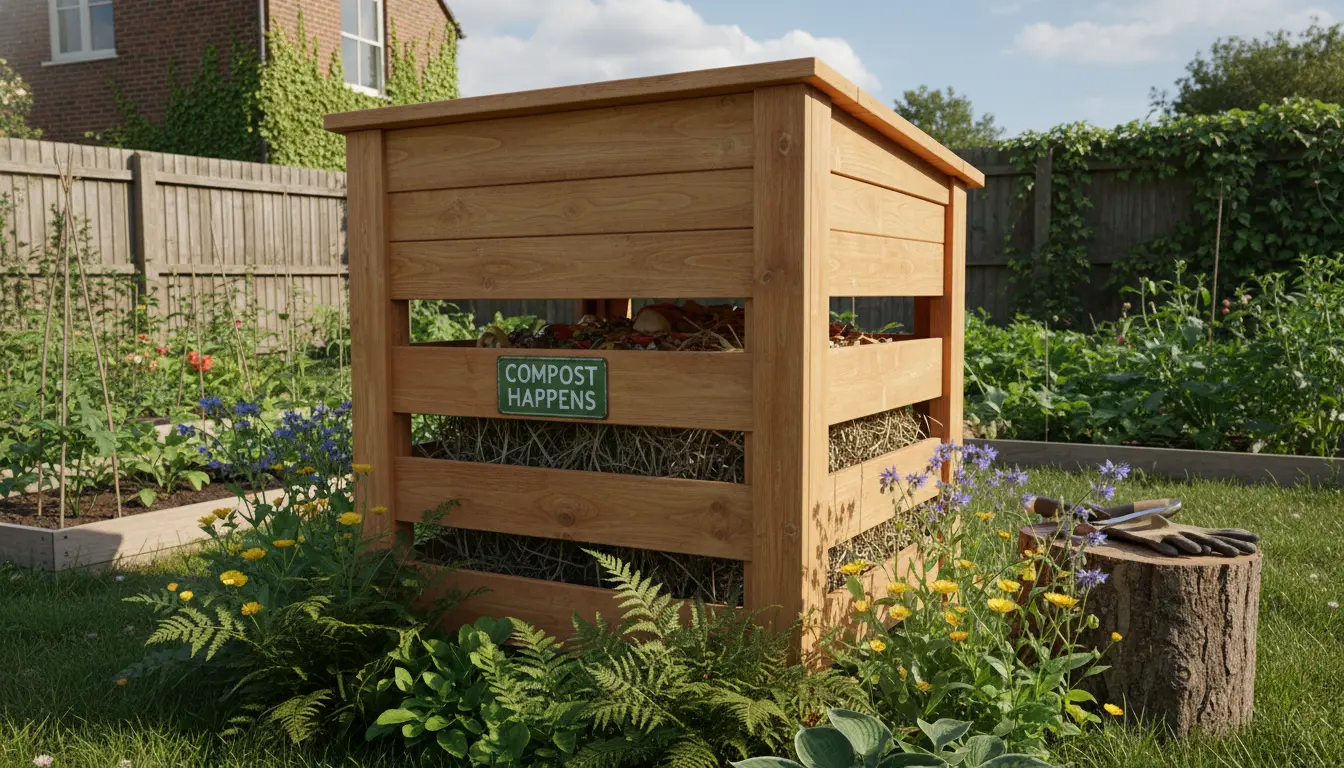
Choosing a Home Compost Bin
Select a bin that fits your space and needs. Options include a simple open pile, a tumbling bin, or a plastic/wooden stationary bin.

Consider these factors when choosing your bin:
- Available space: balcony, backyard, or garage corner.
- Volume of waste: small households need small bins; larger families may need multiple bins.
- Ease of use: tumblers speed up mixing; stationary bins hold more material.
What to Put in a Home Compost Bin
Compost works best with a balance of green and brown materials. Greens provide nitrogen; browns provide carbon.
- Greens: fruit and vegetable scraps, coffee grounds, tea bags, fresh grass clippings.
- Browns: dried leaves, shredded paper, cardboard, straw, small wood chips.
- Avoid: meat, dairy, oily foods, diseased plants, and pet waste from carnivores.
A general rule is a 2:1 or 3:1 ratio of browns to greens by volume for a stable pile that does not smell.
Step-by-Step Setup for a Home Compost Bin

Follow these simple steps to start a home compost bin that works.
- Pick a level spot with partial sun and good drainage.
- Place a base layer of coarse material like twigs to improve airflow.
- Add alternating layers: one part greens then two parts browns.
- Keep the pile moist like a wrung-out sponge.
- Turn or mix the pile every 1–2 weeks to add oxygen and speed decomposition.
How to Maintain Your Home Compost Bin
Maintenance keeps the process steady and reduces problems. Simple checks twice a week are enough for most home bins.
- Moisture: If dry, sprinkle water. If soggy, add more browns and turn the pile.
- Temperature: A healthy active pile warms up to 130–160°F (55–70°C). Lower temperatures still compost slowly.
- Turning: Use a pitchfork or tumbler to aerate and mix materials.
Troubleshooting Your Home Compost Bin
Common issues have simple fixes. Identifying the cause is the first step.
- Bad smell: Add more browns and mix to increase airflow. Avoid adding meat or dairy.
- Pests: Secure the bin, bury food scraps under browns, and avoid attracting sources like meat.
- Slow decomposition: Chop materials smaller, keep pile moist, and turn more often.

Gardeners can reduce household waste by up to 30% by composting food scraps and yard waste at home. Compost also improves soil structure and water retention.
How Long Before You Have Finished Compost?
Time to finished compost depends on method and attention. With regular turning and a good mix, compost can be ready in 2–3 months.
Without active management, expect 6–12 months for decomposition to complete. Finished compost is dark, crumbly, and smells earthy.
Using Your Home Compost
Apply finished compost to garden beds, potted plants, and lawn edges. It adds nutrients and improves soil texture.
Mix compost into topsoil at a ratio of about 1:4 for planting beds, or use a thin layer as mulch around shrubs and trees.
Small Case Study: Rivera Family Backyard Bin
The Rivera family started a 50-gallon tumbler bin in a small backyard. They added kitchen scraps and yard clippings and kept a 2:1 brown-to-green ratio.
After three months of weekly turning, they produced about 40 liters of compost. Their weekly trash volume dropped, and tomato plants grew noticeably stronger with the compost mulch.
Quick Tips for Success with a Home Compost Bin
- Keep materials varied and chopped small to speed decomposition.
- Record turns and moisture checks to troubleshoot faster.
- Use a kitchen caddy for scraps and empty it into the bin daily to avoid pests.
- Start small and scale up as you learn what works in your climate and yard.
Starting a home compost bin is a low-cost way to cut waste and enrich your soil. With basic attention to materials, moisture, and aeration, almost any household can produce useful compost in months.