
Installing a home EV charger can save time and money while giving you the convenience of charging overnight. This guide shows practical steps, electrical requirements, and how to choose the right device for most homes.
Why install a home EV charger
A dedicated home EV charger offers faster charging than a standard outlet and predictable daily range. Level 2 chargers typically add 20 to 60 miles of range per hour depending on the vehicle and circuit.

Home charging reduces reliance on public stations and often lowers total charging cost. It also increases the convenience of owning an electric vehicle for daily use.
Choosing the right home EV charger
Pick a charger based on vehicle compatibility, power output, installation type, and smart features. Consider whether you want Wi-Fi monitoring, load sharing, or scheduled charging.
Common options include portable 120V chargers and hardwired Level 2 chargers that use 240V. Most homeowners benefit from a hardwired Level 2 unit for speed and reliability.
Key selection criteria
- Power rating (amps and kW)
- Plug type (hardwired vs NEMA 14-50)
- Smart features (scheduling, apps, energy tracking)
- Weather and enclosure ratings for outdoor use
- Brand warranty and support
Electrical requirements for a home EV charger

Most Level 2 chargers require a dedicated 240V circuit. Typical circuit sizes are 30A, 40A, or 50A breakers depending on the charger rating.
Before buying, check your electrical panel capacity and whether you need a service upgrade. Some older homes need panel space or higher service amperage to support an EV charger.
Permits and inspections
Local codes usually require a permit and inspection for new 240V circuits and permanently installed chargers. Permits ensure safe wiring and code compliance.

Contact your local building or electrical department for specific requirements. A licensed electrician can often handle permits on your behalf.
Step-by-step: How to install a home EV charger
Below is a practical overview of the installation process. This is a high-level guide; always use a licensed electrician for final wiring and inspections.
1. Plan and prepare
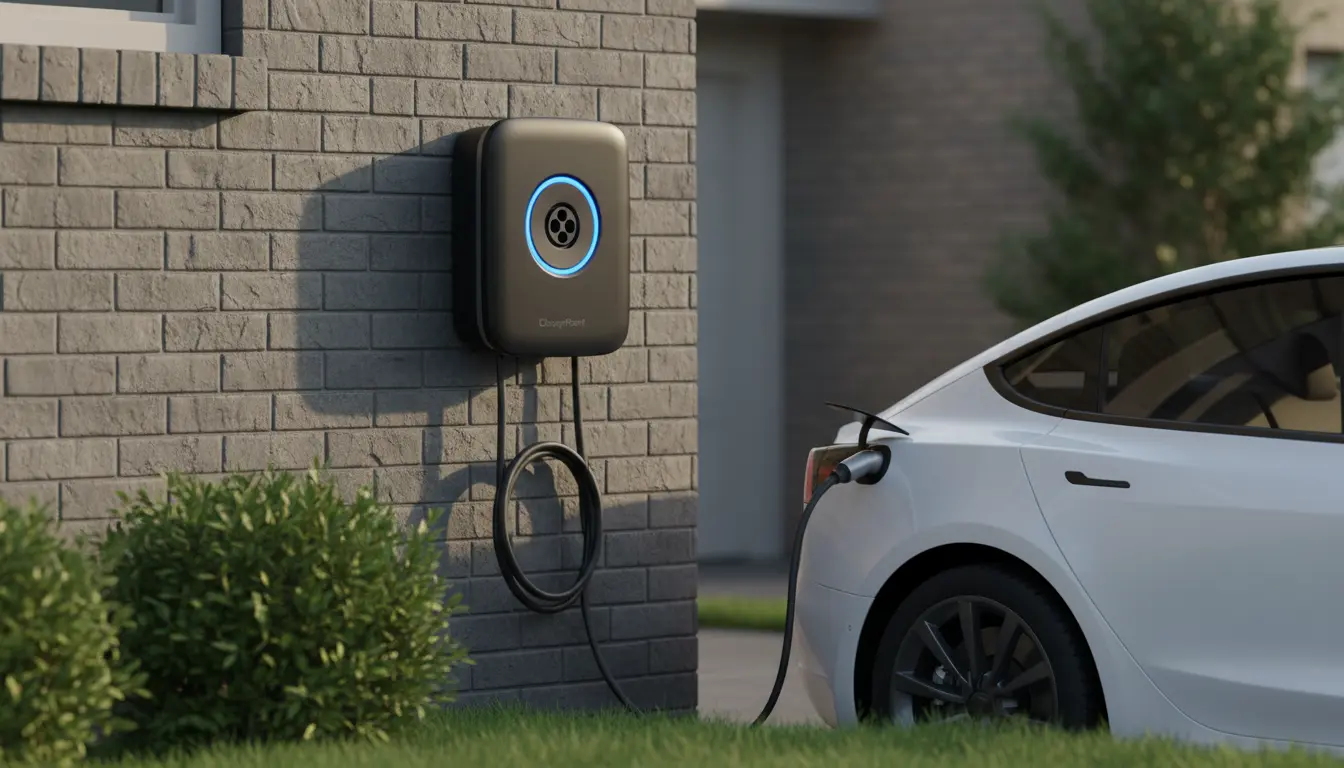
Decide the charger location considering vehicle parking, cable reach, and protection from weather. Choose a wall-mounted or pedestal-style unit as needed.
Review panel capacity. Determine required breaker size and conduit path. Purchase the charger and appropriate wiring materials.
2. Shut off power and mount the unit
An electrician shuts off the main power before starting wiring. Mount the charger to the wall or pedestal using manufacturer hardware and anchors suitable for your surface.
Follow manufacturer spacing and clearance recommendations to avoid cable strain and ensure proper ventilation.
3. Wiring and circuit connection
Run conduit and cable from the breaker panel to the charger location. Install a dedicated 240V breaker sized for the charger. Use the correct gauge wire for the amperage.
Connect ground and neutral per code and confirm all terminations are tight. If the charger is plug-in style, install the matching outlet and test it before plugging in the unit.
4. Test and commission the charger
Restore power and follow the charger start-up procedure. Use the vehicle to confirm charging at expected rates. Check for error lights, and verify Wi-Fi or app connections if applicable.
Schedule an electrical inspection if required by your permit. Keep documentation of the installation and permit for future reference.
Safety checks and tips
- Always use a licensed electrician for 240V installations.
- Install a weatherproof cover for outdoor outlets and connections.
- Ensure proper cable management to prevent tripping hazards.
- Consider surge protection to protect the charger and vehicle from lightning or power spikes.
Many utilities offer rebates or lower overnight rates for EV charging. Check with your energy provider to reduce installation cost and operating expense.
Cost factors and incentives
Installation costs vary widely. Expect a simple plug-in installation to be lower, while a hardwired Level 2 charger with panel upgrade can run higher.
Typical cost elements include the charger unit, electrician labor, wiring materials, conduit, permits, and any required panel upgrades.
Ways to reduce cost
- Check federal, state, and local incentives or rebates for EV charger purchases.
- Apply for utility programs that offer reduced rates for off-peak charging.
- Get multiple electrician quotes and ask about package pricing for charger plus install.
Small real-world case study
Case: Suburban homeowner installs a 40A Level 2 charger. The home had a 100A panel and limited spare breakers.
The electrician installed a new dedicated 40A breaker, ran conduit 25 feet to a garage wall, and hardwired a 7.2 kW charger. The job took one day plus an inspection the next week.
Total cost: $1,200 for equipment and labor. The homeowner received a $300 local rebate and now charges overnight at a lower utility rate, saving about $600 per year versus public fast charging.
Final checklist before you finish
- Confirm charger compatibility with your vehicle.
- Verify panel capacity and breaker sizing.
- Obtain and post permits and inspection sign-off.
- Test a full charging cycle and confirm app connectivity if present.
- Keep manuals, warranty, and permit documents in a safe place.
Installing a home EV charger is a manageable project with planning and professional electrical work. Follow local codes, choose the right unit, and use the checklist above to ensure a safe, reliable installation.